This altimeter is designed to work with Team Black Sheep's Crossfire and Tracer PWM receivers, and should also work great with any RC receivers that are able to speak Mavlink telemetry at 15200 baud, and RC transmitters that can receive and display it.
Note: This product is unrelated to the UDB7mini, and is meant for gliders/planes without a full flight controller.
Note: This altimeter does not work smoothly as a variometer. If you want vertical speed data also, check out the Octopilot Variometer instead.
How It Works
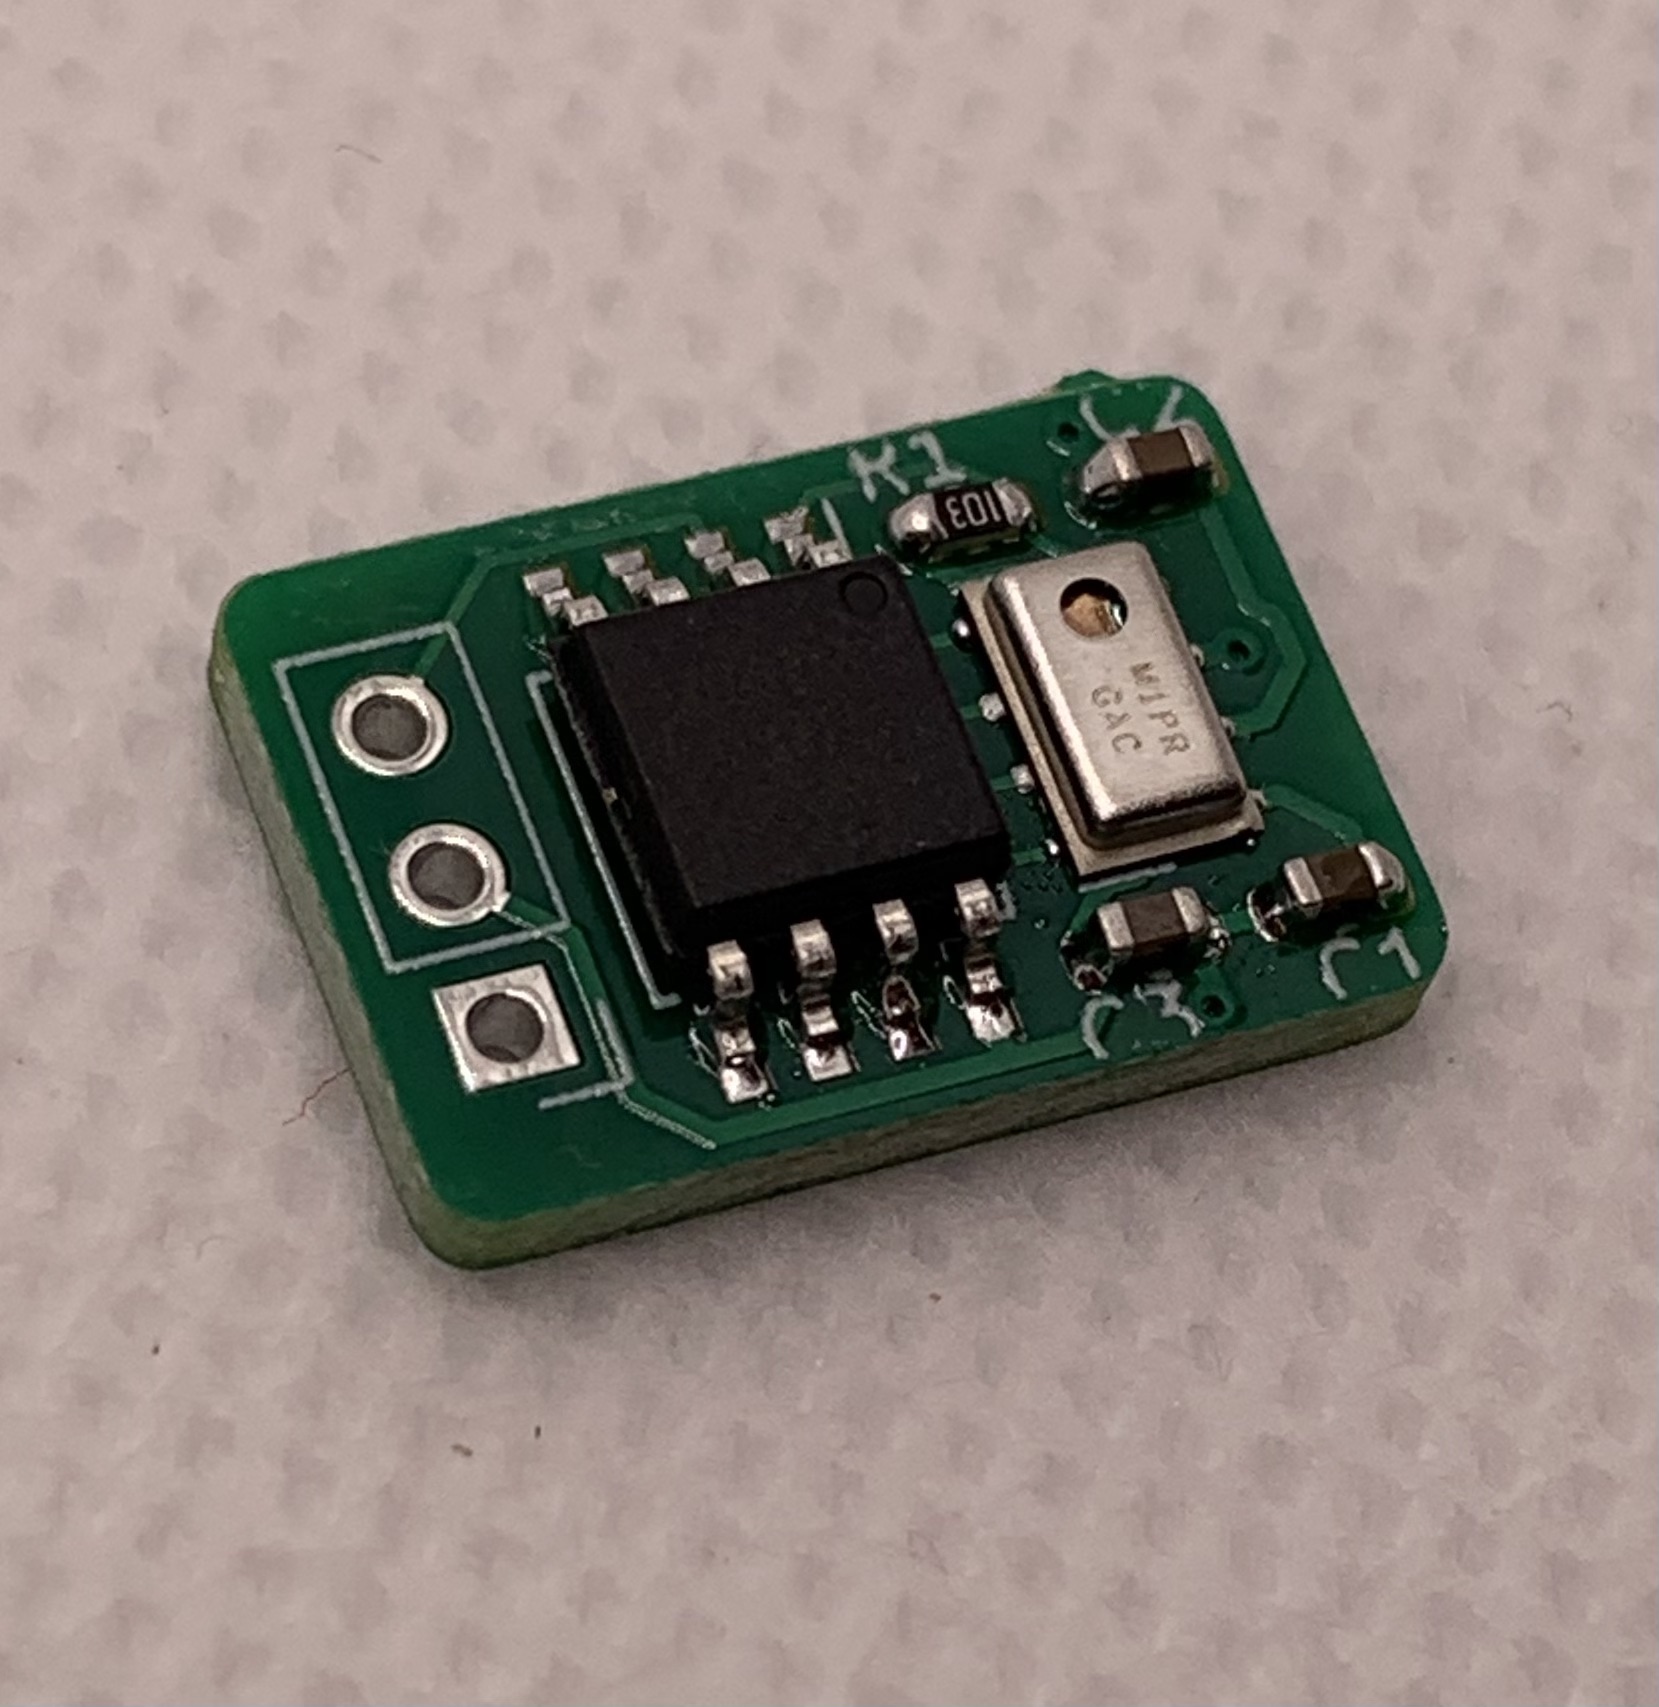
It uses an MPL115A1 barometer to convert pressure to altitude. It sends Mavlink messages to your transmitter that are meant to include GPS lat, long, and altitude, but skips the GPS data, and just sends the altitude.
Since pressure changes with the weather, it is recommended to zero-out the altitude value on your transmitter on every launch, and then view the relative altitude during the flight.
Setup Guide
- Wiring: Solder a short servo cable to the 3 pads. Square pad is Ground(-), then VCC(+3V to +5V), then Data.
- Installation: Cover the barometer chip such that air can circulate into the tiny hole, but light can not get in. (Light leaks can throw off data!)
- Radio Config: Set up your receiver's Output Map channels (e.g., 3 & 4) as Mavlink RX and Mavlink TX. Connect the altimeter to the Mavlink RX channel's pins, and note that the receiver's Mavlink TX channel is not used. Make sure your RC TX has Telemetry set to On.
Then power up your plane and transmitter, and tell your transmitter to Discover New Sensor. It should find a few, and the one you want to use is "ALT".
Then use this value however you want! I set up my transmitter's Discus Launch Glider model to speak my altitude 3 seconds after each launch, to get instant feedback on how high my launches are going.
Technical Specs
- Size: 11mm x 16mm
- Weight: 0.8g
- Compatibility: TBS Crossfire/Tracer, or any Mavlink 15200baud receiver.